
Setting Up a Home Wi-Fi Network for the First Time

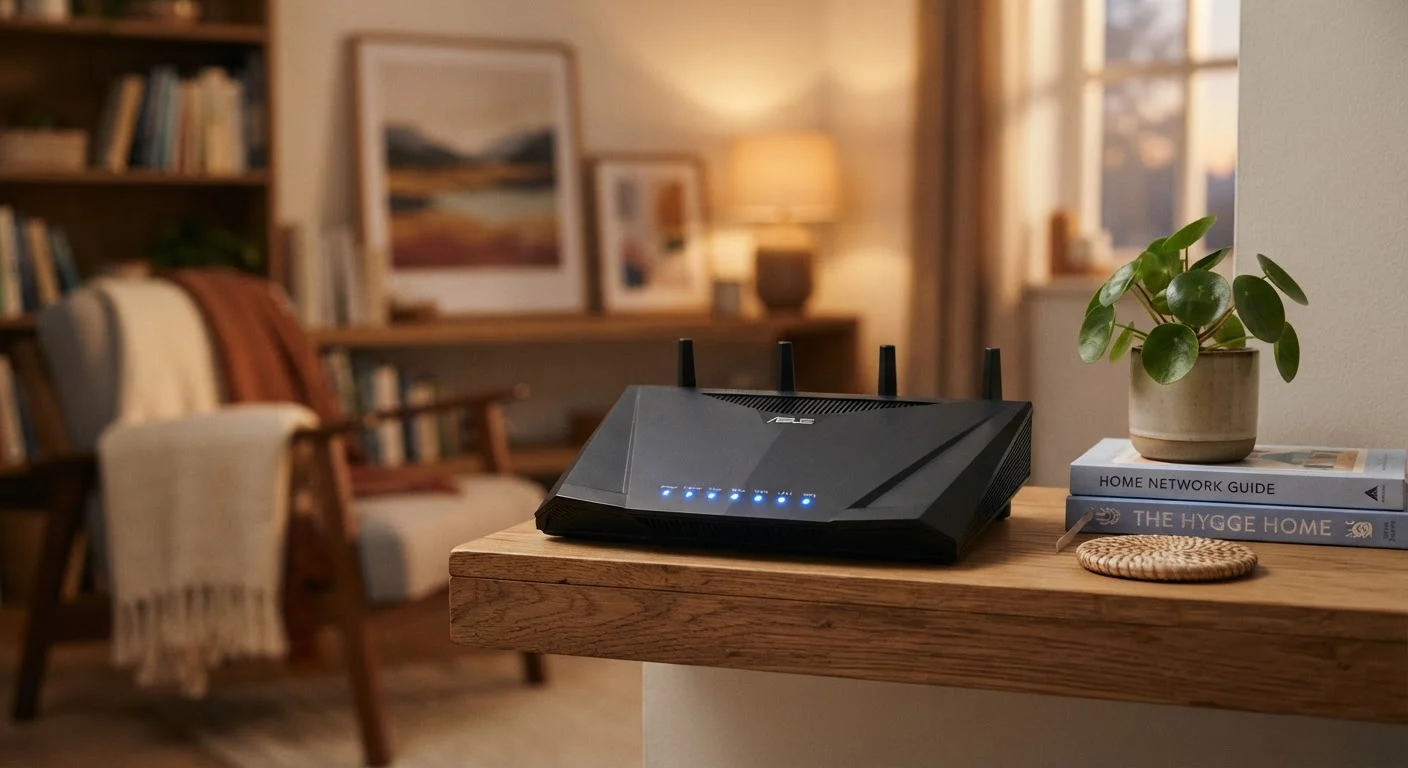
Photo: ConfiReads.com | Blogs For Inquisitive Minds editorial
Key Takeaways
- You need both a modem and a router to create a home Wi-Fi network.
- Placing your router in a central, open location improves coverage throughout your home.
- Creating a strong, unique network password during setup is essential for security.
- Most routers broadcast two bands (2.4 GHz and 5 GHz) — understanding both helps you connect devices optimally.
- Running the router's setup wizard simplifies the process to a few straightforward screens.
What You Need Before You Start
Setting up a home Wi-Fi network involves two main pieces of hardware: a modem, which brings internet service into your home from your ISP, and a router, which distributes that connection wirelessly. Some ISPs supply a combined unit that handles both functions — check what equipment came with your service before purchasing anything extra. For a broader overview of how these pieces fit together, see Everything You Need to Know About Home Networking.
What you will need
Modem
Translates your ISP's incoming internet signal into a form your router can use.
Wireless Router
Broadcasts the Wi-Fi signal that your devices connect to throughout your home.
Ethernet Cable
Provides a wired connection between the modem and router, and optionally to a PC for initial setup.
Smartphone or Laptop
Used to access the router's setup wizard or companion app during configuration.
Router Companion App
Many modern routers offer a mobile app that guides setup and manages settings without needing a browser.
Step-by-Step Setup
Follow these steps in order. Each one builds on the last, so don't skip ahead — particularly the security steps, which many first-time users overlook. Most setups are complete in under an hour.
Secure Your Network Before Connecting Devices
Connect the Modem to Your ISP's Line
Plug your modem into the appropriate incoming line — a coaxial cable outlet for cable internet, a phone jack for DSL, or the ONT box for fiber. Connect the modem's power adapter and wait for its status lights to stabilize. A solid or slowly blinking light (check your modem's manual for the exact pattern) indicates it has successfully synced with your ISP's network. This can take two to five minutes on first boot.
Connect the Router to the Modem
Using an Ethernet cable, connect the modem's LAN port to the router's WAN (sometimes labeled "Internet") port. Power on the router and wait for it to complete its startup cycle — indicator lights will typically stop flashing and settle into a steady pattern after 60–90 seconds.
Access the Router's Setup Wizard
On a phone or laptop, connect to the router's default Wi-Fi network — the network name and temporary password are printed on the router's label. Open a browser and navigate to the router's admin address (commonly 192.168.1.1 or 192.168.0.1, also listed on the label). Many newer routers will redirect you to a setup wizard automatically. Alternatively, install the manufacturer's companion app on your smartphone if one is available.
Create Your Network Name and Password
The setup wizard will prompt you to name your Wi-Fi network (called an SSID) and set a password. Create distinct names for your 2.4 GHz and 5 GHz bands if the router offers both. Choose a password of at least 12 characters mixing letters, numbers, and symbols. Select WPA3 encryption if available, or WPA2 as a minimum — never use WEP, which is obsolete and easily compromised.
Change the Router's Admin Password
Separate from your Wi-Fi password, the router's admin panel has its own login. Change the default admin username and password immediately — default credentials like "admin/admin" are widely known. Store these credentials in a secure password manager so you can access the admin panel for future changes.
Update the Router's Firmware
Inside the admin panel, navigate to the firmware or software update section — usually found under Advanced or Administration. Check for available updates and install any that are listed. The router will reboot automatically after updating. This step closes known security gaps and often improves performance and compatibility.
Place Your Router and Connect Your Devices
Position your router in a central, elevated, open location — away from thick walls, metal appliances, and microwaves. Connect each of your devices to the new network using the credentials you created. For devices that need maximum speed (a gaming console or a desktop PC), consider a direct Ethernet connection to one of the router's LAN ports rather than relying on Wi-Fi.
Don't Skip the Firmware Update Step
Name Your Networks Something You'll Recognize
After Setup: Placement and Next Steps
Once every device is connected, take a moment to test your signal in different rooms. If coverage is weak in certain areas, router placement is almost always the first thing to address. Dead zones, slow speeds near the edges of your home, and dropped connections are frequently caused by where the router sits — not by the router itself. Our guide on why your router's location matters explains exactly how walls, floors, and interference sources shape your signal.
Common placement errors are also worth reviewing before assuming you need a more expensive solution — see router placement mistakes that quietly kill your home Wi-Fi for a concise breakdown. If you're also getting a new laptop set up alongside your network, setting up a new laptop the right way from day one walks through a logical first-day routine that pairs well with a fresh network setup.
The content on this site is for informational purposes only and is not a substitute for professional advice. Always consult a qualified professional for guidance specific to your situation.