
Setting Up a New Smartphone Without Losing Your Data

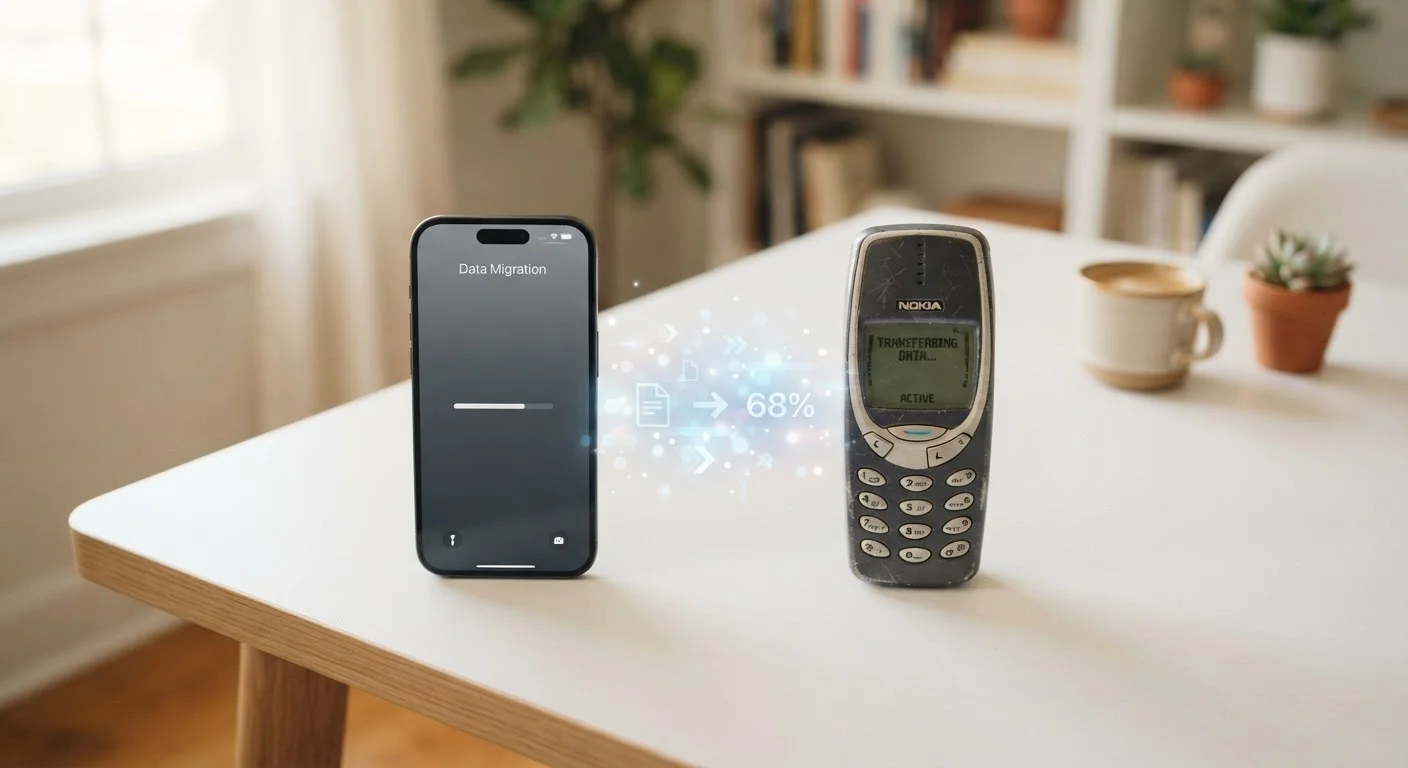
Photo: ConfiReads.com | Blogs For Inquisitive Minds editorial
Key Takeaways
- Always create a full backup of your old phone before starting the transfer process.
- Both iPhone and Android offer built-in migration tools that move most data automatically.
- Contacts, photos, and app data can all be transferred - but the method varies by platform.
- Verifying your data on the new phone before wiping the old one protects against loss.
- Some apps require manual re-login or re-download even after a successful transfer.
Why the Setup Order Matters
Getting a new smartphone is exciting - but rushing into setup without preparation is one of the most common ways people lose photos, contacts, or app data they can't recover. Modern phones have built-in migration tools that do most of the heavy lifting, but they only work well when the groundwork is laid first.
The sequence matters: back up, then transfer, then verify, then wipe. Skipping straight to the new device before securing your backup is the mistake that causes regret. Whether you're staying within the same ecosystem (iPhone to iPhone, Android to Android) or making the jump between platforms, the core process follows the same logical order.
What you will need
If your old phone is already running low on storage, that can affect backup quality. Our article on freeing up space on a full phone can help you clear room before you start.
Tools That Make the Transfer Easier
You don't need third-party software or technical expertise to switch phones successfully. Both Apple and Google have built migration tools directly into their setup flows, and they cover the vast majority of what most users need to move.
iCloud Backup (iPhone)
Backs up iPhone data to Apple's cloud so it can be restored on the new device during setup.
Quick Start (iPhone to iPhone)
Apple's built-in wireless transfer feature that moves data directly between two nearby iPhones.
Google One Backup (Android)
Backs up Android contacts, app data, call history, and settings to your Google account.
Google's Switch to Android app
Helps iPhone users move contacts, photos, and calendar data to a new Android device.
USB data transfer cable
Enables a wired, direct connection between phones for faster data transfer without relying on Wi-Fi.
For users upgrading to a 5G-capable device, the hardware shift doesn't affect how data transfers work - but it's worth understanding what the new connectivity actually changes day to day. Our explainer on what 5G means for your experience covers what's real versus marketing.
Step-by-Step: Transferring Your Phone
Follow each step in order. The process typically takes between 20 minutes and an hour depending on how much data you're moving and the method you choose.
Back up your old phone completely
Before touching your new device, create a full backup of the old one. On iPhone, go to Settings > [Your Name] > iCloud > iCloud Backup and tap Back Up Now. On Android, go to Settings > System > Backup and confirm Google Backup is enabled and up to date.
This step is the most critical - it's your safety net if anything goes wrong. See our guide to backing up your phone for a detailed walkthrough of both platforms.
Power on your new phone and begin setup
Turn on your new device and follow the on-screen prompts. When prompted to sign in, use the same Apple ID or Google account linked to your old phone. This is the anchor that connects your backup data to the new device.
Choose your transfer method
iPhone to iPhone: Use Quick Start by holding both phones near each other. Follow the animated prompts to authenticate and begin a direct wireless transfer. For large data sets, a wired transfer via a Lightning or USB-C cable is faster and more reliable.
Android to Android: Most Android phones launch a setup wizard that detects your Google backup automatically. Select Copy from previous device and choose which data types to restore.
Switching platforms (iPhone to Android or vice versa): Use the Switch to Android app (available on iOS) or Move to iOS app (available on Google Play) for cross-platform transfers. These move contacts, photos, and calendar events but won't transfer paid apps purchased on the other platform's store.
Wait for the transfer to complete - fully
Data transfers can take anywhere from 10 minutes to over an hour depending on how much data you have and your connection speed. Keep both phones on the same Wi-Fi network, plugged in, and with screens active (or set not to sleep) during the process. Do not interrupt the transfer once it begins.
Verify your data before wiping the old phone
Once setup is complete, check the new phone thoroughly: scroll through your photo library, open your contacts, check your most-used apps, and confirm text message history. Pay attention to banking or authenticator apps - these often require separate re-enrollment for security reasons.
If something is missing, your old phone is still intact and can serve as the source for another transfer attempt or a manual copy.
Re-sign into apps and customize your settings
Most apps will require you to log back in, even after a successful transfer. Have your passwords ready - a password manager app like the one built into iOS or Android makes this faster. Once logged in, review your notification preferences, display settings, and accessibility options on the new device.
Your new phone may also have settings worth exploring that your old one didn't have. Our guide on hidden settings worth knowing is a useful next step.
Use This as a Chance to Declutter
After the Transfer: Common Issues and What to Do
Even successful transfers occasionally leave gaps. Here's what to watch for:
- Missing texts: SMS history transfers reliably on iPhone via iCloud, but Android-to-Android transfers may not include all SMS history depending on the app you use for messaging.
- App data not synced: Some apps store data locally rather than in the cloud. Games with local save files and certain productivity apps may not carry over progress.
- Authenticator apps: These are intentionally designed not to transfer automatically as a security measure. You'll need to re-enroll each account manually using backup codes.
- SIM or eSIM activation: Don't forget to activate your SIM in the new device. Contact your carrier if your number doesn't port over automatically.
Don't Factory Reset Your Old Phone Yet
If you're also setting up a new laptop around the same time, the process shares some parallels. Our guide on setting up a new laptop the right way walks through a similar step-by-step routine for computers.
The content on this site is for informational purposes only and is not a substitute for professional advice. Always consult a qualified professional for guidance specific to your situation.