
Before You Submit That Claim: A Pre-Filing Checklist

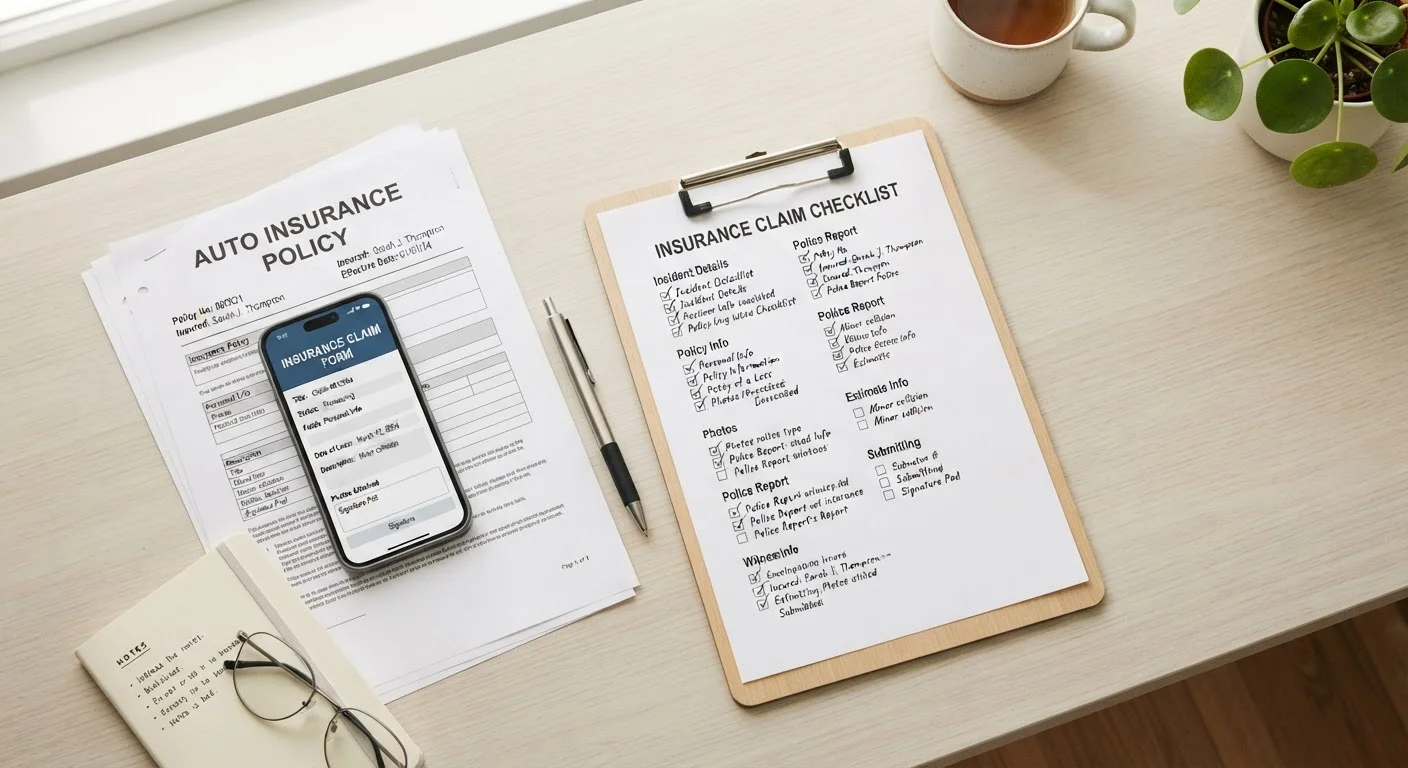
Photo: ConfiReads.com | Blogs For Inquisitive Minds editorial
Key Takeaways
- Gathering documentation before you file dramatically reduces delays and denials.
- Understanding your deductible and coverage limits helps you decide whether filing is worth it.
- Notifying your insurer promptly is often required - delays can jeopardize your claim.
- Keeping a written record of every conversation with your insurer protects your interests.
- Small claims may not always be worth filing due to potential premium impacts.
Why Preparation Before Filing Matters
Filing an insurance claim feels urgent - especially after an accident, a burst pipe, or a stolen vehicle. That urgency can push people to submit paperwork before they've thought things through, which is one of the most common reasons claims get delayed, reduced, or denied.
This checklist is designed to slow you down for 20 to 45 minutes so your claim moves faster once it's submitted. Work through each group before you call your insurer or open the online portal. The time you spend here is far less than the time you'd spend correcting a poorly filed claim.
Not sure whether filing is even the right move? Consider reading when paying out of pocket may make more sense before you proceed - small claims can carry long-term premium consequences worth weighing first.
Understand Your Policy First
Document the Loss
Check Deadlines and Notice Requirements
Organize Your Claim Package
Tools and Records You'll Need Nearby
Before working through the checklist, pull together the materials below. Having them at hand prevents interruptions mid-process and keeps your information consistent across the claim.
Insurance Policy Document
The source of truth for your coverage terms, deductibles, limits, and exclusions - required to complete the policy review group.
Smartphone or Camera
Used to photograph or video the damage or loss before any cleanup occurs.
Claims Log (Notebook or Digital Document)
Tracks every communication with your insurer, including dates, names, and conversation summaries.
Police or Incident Report Number
Required for theft, accidents, and many property crimes - obtain from the responding agency before filing.
Receipts and Proof of Value
Bank statements, purchase receipts, or photos support the replacement value of damaged or lost property.
Home Inventory List
A pre-existing list of your belongings with values speeds up personal property claims significantly.
If you're uncertain about what your policy actually covers, the Coverage Types hub breaks down the major categories in plain language - a useful reference before you speak with an adjuster.
Common Mistakes This Checklist Helps You Avoid
Most claim problems trace back to a handful of avoidable errors: missing deadlines, submitting incomplete documentation, misquoting coverage terms to adjusters, or inadvertently providing inconsistent accounts of what happened.
Never Exaggerate or Estimate Loosely
Don't Begin Permanent Repairs Before Inspection
Once you've worked through the checklist, the actual filing process becomes more straightforward. For a step-by-step walkthrough of what happens after you submit, see Filing an Insurance Claim Without Making It Harder on Yourself.
It's also worth knowing which common beliefs about claims are actually myths. Insurance Claim Myths That Lead Policyholders Astray addresses misconceptions - like whether every claim automatically raises your rates - with accurate context.
This article provides general insurance information for educational purposes only and does not constitute personalized insurance, legal, or financial advice. Coverage terms, exclusions, and claim procedures vary by policy and insurer. Always read your actual policy documents and consult a licensed insurance professional for guidance specific to your situation.
The content on this site is for informational purposes only and is not a substitute for professional advice. Always consult a qualified professional for guidance specific to your situation.